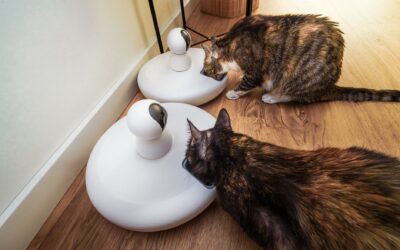
To clean an automatic pet feeder, disassemble all removable parts, wash them with warm soapy water, rinse thoroughly, and dry completely before reassembly. This basic routine prevents food residue from building up, which can attract pests, cause mold growth, and even jam the dispensing mechanism. Regular cleaning also ensures your pet gets fresh, safe food every meal, so it is worth doing on a consistent schedule.



Why Cleaning Your Automatic Pet Feeder Matters
Even dry kibble leaves behind oils and crumbs that accumulate in the hopper, bowl, and internal parts. Over time, this residue can go rancid, produce unpleasant odors, and become a breeding ground for bacteria and mold. A dirty feeder also places extra strain on the motor and gears, leading to skipped meals or jams. By cleaning regularly, you protect both your pet’s health and the feeder’s reliability.
Which Parts of an Automatic Pet Feeder Need Cleaning
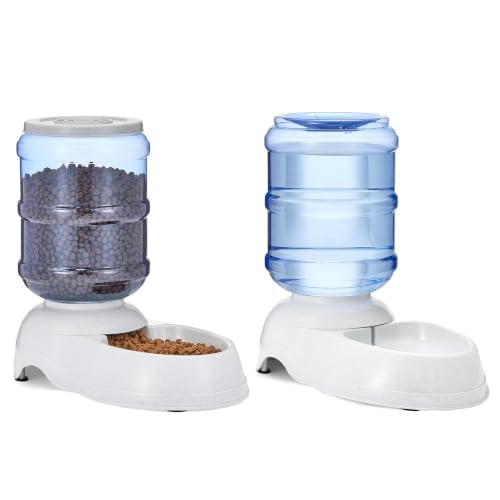
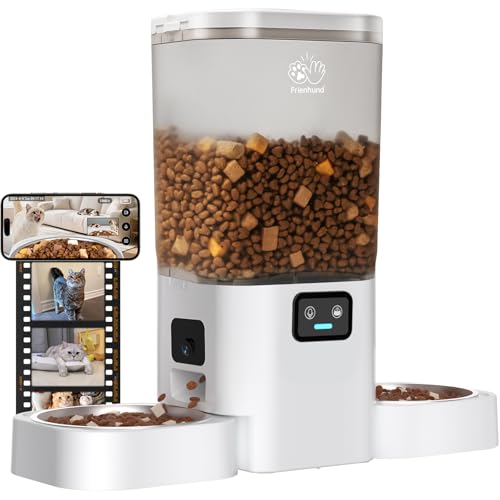
Most automatic pet feeders consist of a food hopper, a lid or cover, a dispensing rotor or auger, and a feeding bowl or tray. Some models also include a desiccant compartment or a seal around the lid. Every part that contacts food should be cleaned. The hopper and lid often collect dust and grease, while the rotor or auger can trap fine particles that cause clogs. The bowl, even if separate, should be washed after each use for best hygiene.
How Often Should You Clean an Automatic Pet Feeder?
A full disassembly and wash should happen at least once a week if the feeder is used daily. For wet or semi-moist food, every two to three days is better. The bowl itself should be washed after every meal. If you notice a musty smell, visible mold, or the feeder starts dispensing irregularly, clean it immediately regardless of the schedule.
Step-by-Step Cleaning Process
Start by unplugging the feeder and removing any remaining food. Take apart all removable components following the manual. Wash each piece in warm water with a mild dish soap, using a soft sponge for the plastic surfaces and a bottle brush for narrow openings like the dispensing chute. Avoid abrasive scrubbers that can scratch plastic and create hiding spots for bacteria.
Rinse every part thoroughly under running water to remove all soap residue. Then let all components air dry completely on a clean towel. This step is critical because moisture trapped inside the feeder encourages mold growth in stored food. Once dry, reassemble the feeder, refill with fresh kibble, and plug it back in.
What to Avoid When Cleaning an Automatic Pet Feeder
Never submerge the main base unit that contains the motor, control board, or battery compartment. Water damage is the most common cause of feeder failure. Instead, wipe the base with a slightly damp cloth and dry it immediately. Also avoid using bleach, ammonia, or harsh chemicals that could leave residues harmful to your pet. Stick to mild dish soap or a vinegar solution (one part white vinegar to three parts water) for deeper cleaning if needed.
Troubleshooting Common Issues After Cleaning
If the feeder stops dispensing after cleaning, check that the rotor or auger is aligned correctly and that all parts are dry. Moisture can cause the kibble to clump inside the hopper. If you smell a persistent odor, the problem is often trapped grease in hard-to-reach areas; use a bottle brush and vinegar solution to clean those spots. For sticky residue on the lid seal, wipe it with a cloth dipped in warm, soapy water.
How to Fix Common Cleaning Problems
- Mold or mildew: Disassemble completely, wash with a vinegar solution, and ensure every part is bone dry before reassembly.
- Unpleasant odor: Clean the hopper and rotor with warm soapy water, then wipe the base interior with a damp cloth.
- Jammed dispenser: Check for food stuck in the rotor path; remove any debris and lubricate moving parts with a food-safe lubricant if recommended by the manual.
- Feeder not turning on after cleaning: Verify it is plugged in and dry; if the base got wet, allow it to dry for 24 hours before retrying.
Following these steps will keep your automatic pet feeder running smoothly for years. For more detailed help with maintenance issues, browse our other troubleshooting guides.
Frequently Asked Questions
Can I put the feeder parts in the dishwasher?
Check your feeder’s manual first. Some plastic parts are top‑rack dishwasher safe, but high heat can warp thin plastic or damage rubber seals. Hand washing with warm soapy water is safe for all components and is usually recommended by manufacturers.
How do I clean the feeder without damaging the electronics?
Only clean the removable parts that do not contain electronics. Wipe the main base with a barely damp cloth, being careful not to let any water enter the battery compartment or vent openings. Use a dry cloth to dry the base immediately.
What should I use to clean a feeder used for wet food?
Wet food leaves more residue, so wash the bowl and hopper more frequently. A vinegar and water solution works well for breaking down grease. Rinse thoroughly to remove any taste or smell that might deter your pet.
Why does my feeder dispense fewer meals after cleaning?
This often happens when the hopper or rotor is not completely dry, causing kibble to stick and reduce flow. Also check that you reassembled the feeder correctly and that the portion setting is still accurate. Let all parts dry fully before refilling.
Related Guides
- Automatic Pet Feeder Keeps Jamming
- Automatic Pet Feeder Not Turning On
- Why Is My Automatic Pet Feeder Not Connecting to WiFi?
Keep Your Feeder Fresh and Your Pet Happy
Cleaning your automatic pet feeder weekly prevents health risks and mechanical problems. By following the simple steps above, you ensure your pet always gets fresh food from a reliable device.