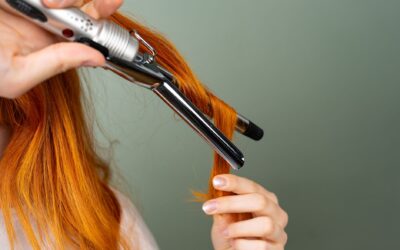
To clean a curling iron, unplug it, let it cool completely, then wipe the barrel with a damp cloth or a cotton ball soaked in rubbing alcohol or a mild soap solution, avoiding the electrical components. This removes product buildup, burnt hair residue, and oils that can cause uneven heating and damage your hair. Regular cleaning keeps your iron working well and extends its lifespan, so you get smooth curls every time. Knowing how to clean a curling iron properly is essential for maintaining your styling tool and protecting your hair from residue-related damage.
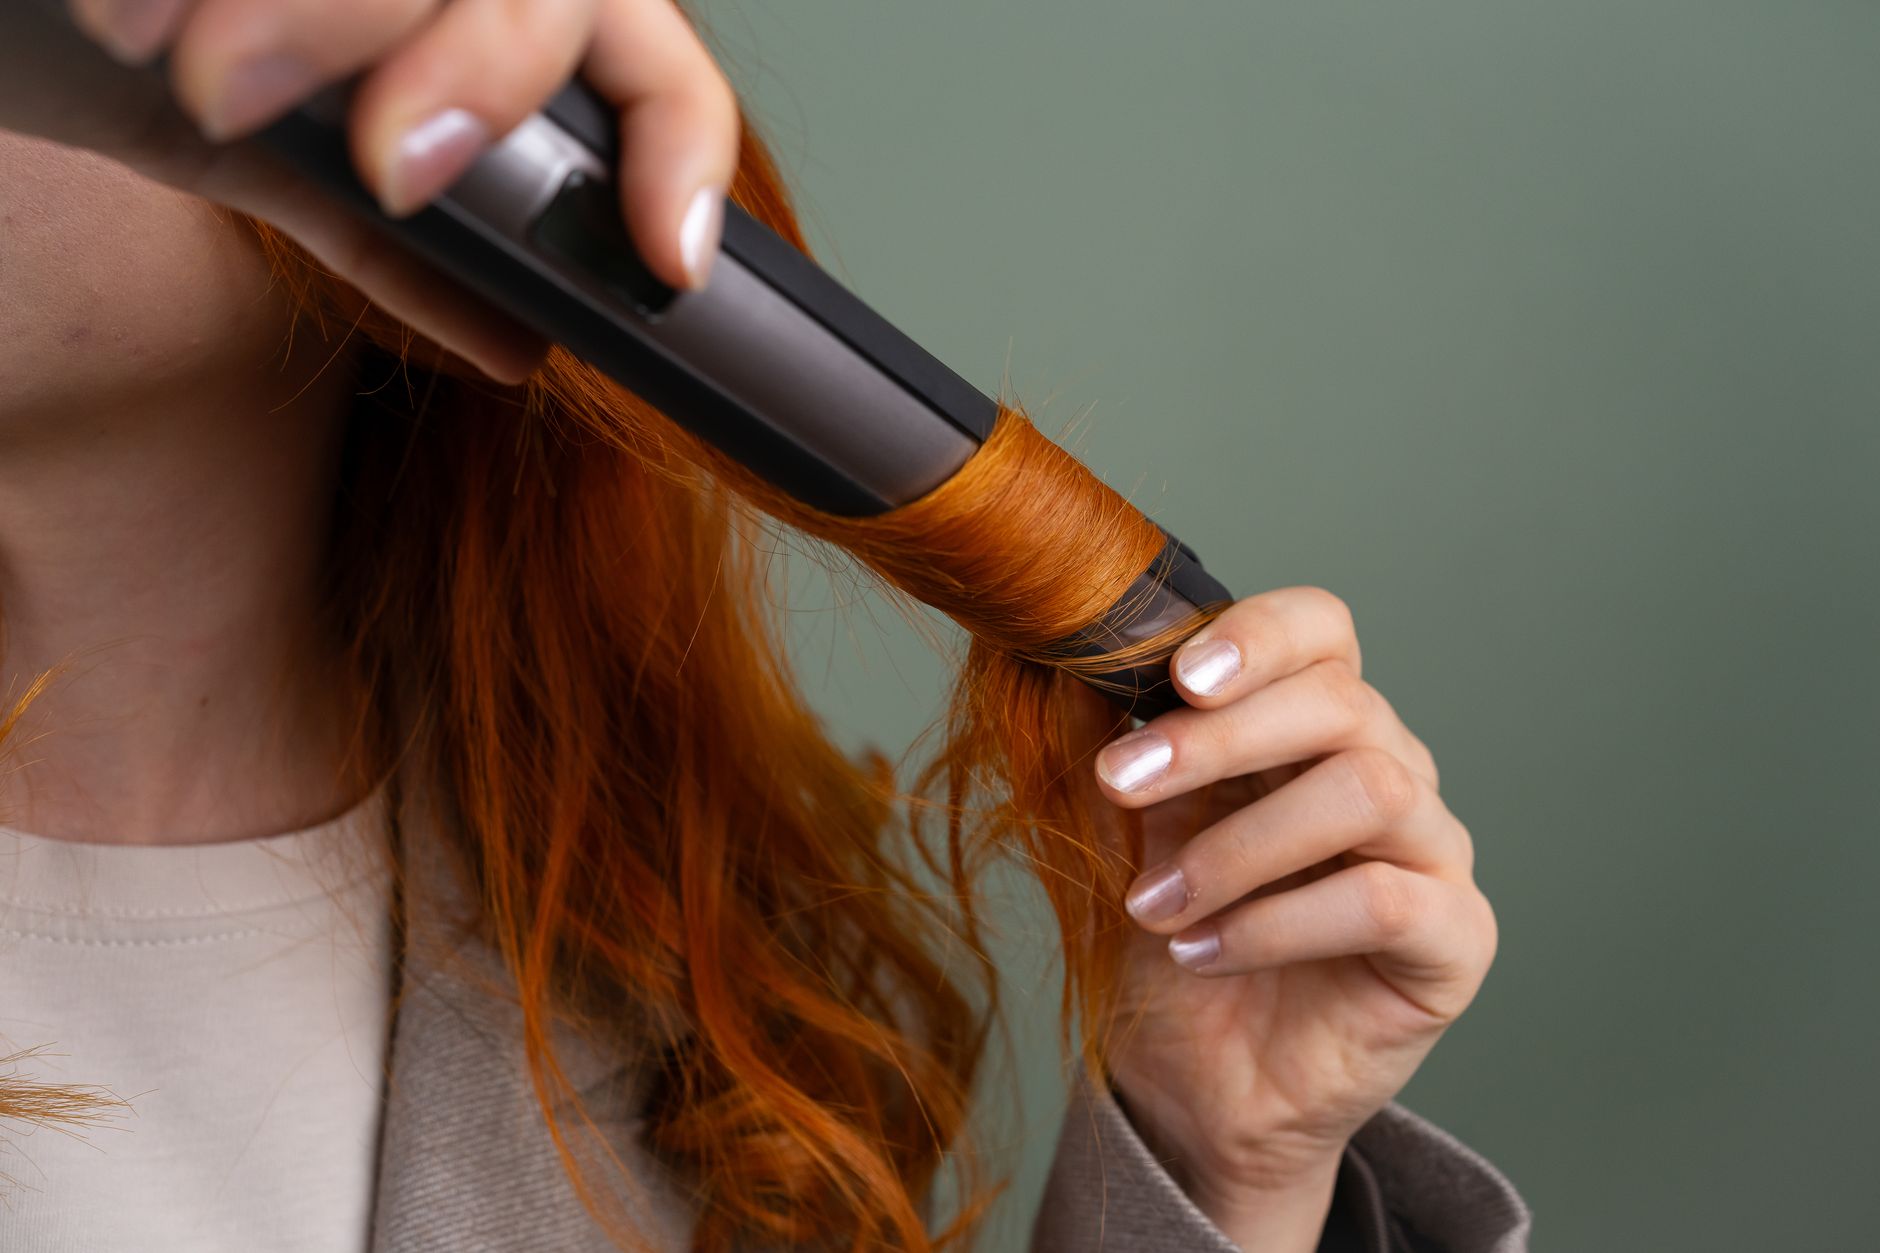
Why You Need to Clean Your Curling Iron
Product buildup is the main reason your curling iron needs cleaning. Hairsprays, gels, mousses, and leave-in conditioners leave a sticky residue on the barrel that bakes on with heat. This creates a rough surface that snags hair, causes uneven heat distribution, and can even burn product onto your strands, leading to frizz or damage.
Burnt hair and dust also accumulate over time. When you curl, small bits of hair or dust from the air can stick to the barrel and burn, creating a unpleasant smell and leaving dark marks. Oils from your scalp and hands transfer to the iron as you use it, adding to the grime. All of this affects performance and hygiene, so regular cleaning is a must.
What You Need to Clean a Curling Iron
You likely already have the supplies at home. Grab a soft cloth or microfiber towel, cotton balls or swabs, rubbing alcohol (isopropyl alcohol works best), a small bowl of warm water, and a mild dish soap. Avoid harsh chemicals like bleach or abrasive scrubbers, as they can damage the barrel’s coating.
For stubborn buildup, you can use a non-abrasive cleaner like a baking soda paste (mix baking soda with a little water) or a specialized hair tool cleaner. Always test any cleaner on a small, inconspicuous area first to ensure it doesn’t discolor or scratch the surface.
Step-by-Step: How to Clean Your Curling Iron
Step 1: Unplug and Cool Down
Always unplug the curling iron and let it cool completely before cleaning. Cleaning a hot iron is dangerous and can cause burns or damage the tool. Wait at least 30 minutes after use to be safe.
Step 2: Wipe Down the Barrel
Dampen a soft cloth or cotton ball with rubbing alcohol or a mixture of warm water and a drop of dish soap. Wipe the barrel gently to remove loose residue. For ceramic or tourmaline barrels, avoid soaking the cloth too much to prevent liquid from seeping into the handle or electrical parts.
Step 3: Tackle Stubborn Buildup
For baked-on product, dip a cotton swab in rubbing alcohol and carefully scrub the affected spots. If that doesn’t work, make a paste of baking soda and water, apply it to the buildup with a soft cloth, and gently rub in circular motions. Wipe away the paste with a clean damp cloth.
Step 4: Clean the Cool Parts
Wipe down the handle, cord, and any buttons or switches with a dry or slightly damp cloth. Avoid getting moisture into any openings. For the cord, check for kinks or damage while cleaning, but do not submerge it in water.
Step 5: Dry and Store
Let the curling iron air dry completely before plugging it in again. Store it in a dry place, away from humidity, and consider using a heat-resistant mat or pouch to protect the barrel. Never wrap the cord tightly around the iron, as this can damage the wiring.
How Often Should You Clean Your Curling Iron?
How frequently you clean depends on how often you use it. If you curl your hair daily, clean the barrel once a week. For occasional use (a few times a month), a monthly cleaning is enough. A good rule of thumb is to clean it when you notice product residue, a burnt smell, or the iron not heating evenly.
Heavy product users or those with oily hair may need to clean more often. Pay attention to how the iron performs: if curls don’t hold well or the barrel feels sticky, it’s time for a cleaning.
What Not to Do When Cleaning a Curling Iron
Avoid submerging the curling iron in water or any liquid. This can damage the electrical components and create a shock hazard. Never use metal scrubbers, steel wool, or abrasive cleaners, as they scratch the barrel’s surface, ruining its smooth finish and heat distribution.
Do not use harsh chemicals like acetone, nail polish remover, or bleach, which can strip the coating. Also, avoid cleaning the iron while it’s plugged in or still hot. If your iron has a non-stick coating, check the manufacturer’s instructions for specific cleaning recommendations.
How to Fix Common Cleaning Mistakes
If you accidentally scratch the barrel, you may notice it snags hair or heats unevenly. In that case, consider replacing the iron, as scratches can worsen over time. If you get moisture into the handle, let the iron dry in a warm, dry place for at least 24 hours before plugging it in to avoid electrical issues.
If the iron still smells burnt after cleaning, you might have missed residue in crevices around the clamp or hinge. Use a cotton swab with alcohol to reach those spots. Persistent odors could indicate internal damage, so if the smell continues, stop using the iron and consider a replacement.
Frequently Asked Questions
Can I use vinegar to clean my curling iron?
White vinegar can be used in a pinch, but it has a strong smell and may leave a residue if not wiped off thoroughly. Rubbing alcohol is generally preferred because it evaporates quickly and leaves no film. If you use vinegar, dilute it with water and wipe the barrel afterward with a damp cloth.
How do I clean a curling iron with a non-stick coating?
Non-stick coatings are delicate, so use only a soft cloth and mild soap or rubbing alcohol. Avoid baking soda paste, as it can be mildly abrasive and wear down the coating over time. Check the manufacturer’s instructions for specific care, and never use metal tools or scrubbers.
What if my curling iron has a burnt smell even after cleaning?
If the smell persists, there may be residue inside the iron’s barrel or near the heating element that you cannot reach. In this case, the iron may be damaged or worn out. Consider replacing it to avoid potential fire hazards or further damage to your hair.
Related Guides
- Best Rotating Curling Iron
- The Best Heated Eyelash Curler for Effortless Lifts
- Best Hair Waver for Short Hair
Keep Your Curling Iron in Top Shape
Cleaning your curling iron regularly removes product buildup, prevents burnt smells, and ensures even heat for perfect curls. For more tips on maintaining your hair tools, check out our guide on choosing the best curling iron for your hair type to find a model that lasts longer and performs better.