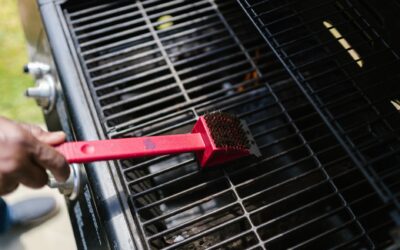
To clean gas grill grates, start by preheating the grill on high for 15 minutes to burn off loose residue, then scrub the grates with a wire brush or balled-up aluminum foil while they are still hot. This method removes most stuck-on food quickly, but a deeper clean with a paste of baking soda and vinegar or a dedicated grill cleaner may be needed every few months to tackle built-up carbon and grease. Understanding the right technique for your grate material and cleaning frequency is key to keeping your grill performing well and your food tasting fresh.
Why You Need to Clean Gas Grill Grates Regularly
Every time you grill, food particles and grease stick to the grates. When you fire up the grill next time, those remnants burn and create smoke that transfers a bitter, acrid flavor to whatever you cook. This is especially noticeable on delicate items like fish or vegetables.
Beyond taste, a buildup of grease and carbon can reduce heat transfer, meaning your grill takes longer to reach temperature and food cooks unevenly. In extreme cases, excessive grease accumulation on grates can flare up, creating safety hazards. Regular cleaning prevents these issues and extends the life of your grates.
What You Need to Know About Different Grate Materials
Gas grill grates come in several materials, and each requires a slightly different approach. Porcelain-coated cast iron grates are common on mid-range grills; they resist rust but the coating can chip if you use a metal brush aggressively. Stainless steel grates are durable and rust-resistant but can warp under extreme heat if not cleaned regularly.
Solid cast iron grates, often found on higher-end models, hold heat exceptionally well but rust easily if not seasoned or dried promptly after cleaning. Chrome-plated steel grates are the least expensive but tend to peel over time. Knowing your grate material helps you choose the right cleaning tool and method.
How to Clean Gas Grill Grates: The Quick Daily Method
The easiest way to clean gas grill grates is to do it right after you finish cooking, while the grill is still hot. Turn the burners to high for 10 to 15 minutes to incinerate any loose food particles. This step is often called a self-cleaning cycle and works well for light residue.
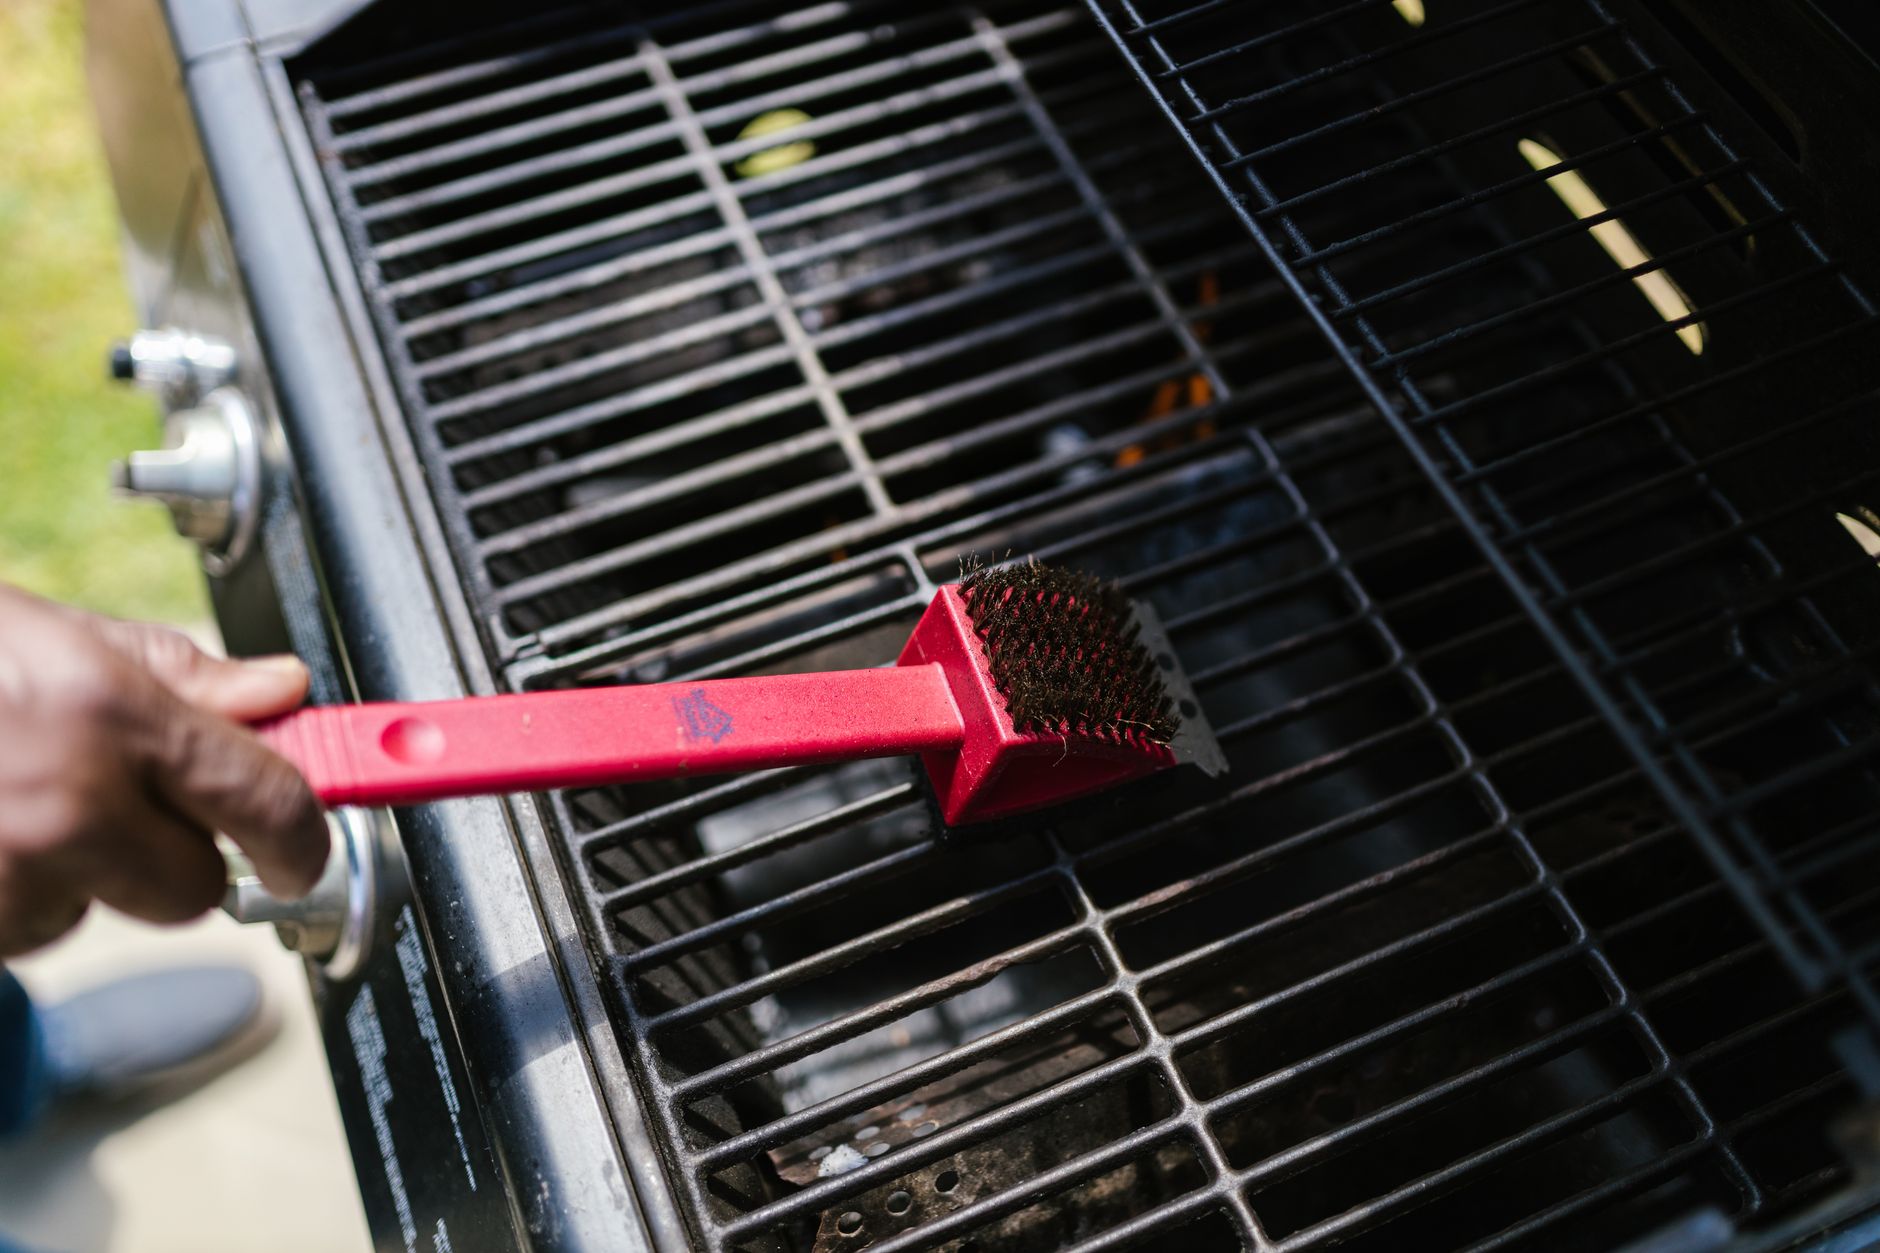
Once the grates are hot, use a long-handled wire brush with stiff brass or stainless steel bristles to scrub the grates thoroughly. Work the brush back and forth across the bars, focusing on areas with visible buildup. For porcelain-coated grates, a nylon brush or a pumice stone is safer to avoid chipping.
After scrubbing, use a damp paper towel or a half onion speared on a fork to wipe down the grates and remove any loosened debris. This method takes only a few minutes and keeps your grates in good shape between deep cleans.
Deep Cleaning Gas Grill Grates: Soaking and Scrubbing
If your grates have a thick layer of carbonized grease or you haven’t cleaned them in months, a deep clean is necessary. Start by removing the grates from the grill and placing them in a large plastic trash bag or a heavy-duty garbage bag. Add a cup of ammonia or a commercial degreaser, then seal the bag and let it sit in the sun for several hours or overnight.
The fumes from the ammonia will soften the baked-on residue, making it much easier to scrub off. After soaking, wear rubber gloves and scrub each grate with a stiff brush or a ball of crumpled aluminum foil. Rinse thoroughly with water and dry immediately with a clean cloth to prevent rust, especially on cast iron grates.
For a gentler alternative, mix a paste of baking soda and water or baking soda and white vinegar. Apply the paste to the grates, let it sit for 15 to 30 minutes, then scrub with a non-abrasive pad. This method is safe for all grate types but may require more elbow grease for heavy buildup.
How to Clean Gas Grill Grates Using an Oven Cleaner
Oven cleaner is a powerful option for cleaning gas grill grates, especially those with stubborn, blackened carbon. Remove the grates and place them on a protected surface outdoors or in a well-ventilated area. Spray the oven cleaner evenly over the grates, following the product’s instructions for dwell time.
After the cleaner has worked, scrub the grates with a stiff brush and rinse thoroughly with water. It is critical to rinse completely, as any residue from the oven cleaner can transfer to your food and cause a chemical taste. This method works well but should be reserved for occasional deep cleaning rather than routine use.
Common Mistakes to Avoid When Cleaning Gas Grill Grates
One of the most common mistakes is using a wire brush on porcelain-coated grates. The bristles can scratch and chip the coating, exposing the underlying cast iron to moisture and rust. Once the coating is damaged, the grate will deteriorate quickly.
Another frequent error is cleaning cold grates. Cold grease and food are much harder to remove than when they are hot and soft. Always heat the grill before scrubbing for the best results. Also, avoid using soap or detergent on porous cast iron grates, as the soap can be absorbed and later released onto your food, leaving a soapy taste.
Finally, do not neglect to dry your grates thoroughly after cleaning, especially if they are cast iron. Leaving them wet can lead to rust formation within hours. A quick wipe with a paper towel or a brief run of the grill on low heat after cleaning will dry them effectively.
How to Fix: A Step-by-Step Action Plan
- For light daily buildup: Preheat grill on high for 15 minutes, then scrub with a wire brush while grates are hot.
- For moderate residue: Use a ball of aluminum foil or a pumice stone on hot grates for a non-abrasive scrub.
- For heavy carbonized grease: Remove grates and soak in a bag with ammonia or use an oven cleaner, then scrub and rinse.
- For cast iron grates: After cleaning, dry immediately and apply a thin coat of cooking oil to season and prevent rust.
If your grill’s grates are beyond cleaning or you notice rust pitting, it may be time to consider replacement. Let’s skip that link. Instead, for broader home maintenance tips, you might find our how to drill into concrete guide useful for other DIY projects around the house.
Frequently Asked Questions
Can I use a pressure washer to clean gas grill grates?
Yes, you can use a pressure washer on removable grates, but be cautious. High pressure can damage the coating on porcelain grates or force water into the burner tubes if the grates are still on the grill. If you use one, keep the nozzle at least 12 inches away and dry the grates immediately.
How often should I clean my gas grill grates?
For best results, clean your grates after every use using the quick hot scrub method. A deep clean with soaking or oven cleaner should be done every two to three months, depending on how frequently you grill. If you notice heavy smoke or flare-ups during cooking, it’s time for a deep clean.
Is it safe to use a wire brush on grill grates?
Wire brushes are safe for stainless steel and bare cast iron grates, but they can damage porcelain-coated surfaces. The bristles may also break off and stick to the grates, posing a risk of ingestion. If you use a wire brush, inspect the grates carefully afterward, or switch to a nylon brush or crumpled foil for porcelain grates.
Can I put gas grill grates in the dishwasher?
It is not recommended. The high heat and harsh detergents in a dishwasher can damage the finish on most grates, especially cast iron and porcelain-coated ones. The moisture can also promote rust. Stick to hand cleaning methods for the best results and longevity.
What is the best homemade cleaner for gas grill grates?
A paste made from baking soda and white vinegar is effective and safe for all grate materials. Apply the paste, let it sit for 15 minutes, then scrub with a non-abrasive pad. For extra grease-cutting power, add a few drops of dish soap to the mixture.
Related Guides
Final Thoughts
Keeping your gas grill grates clean is a simple routine that prevents bad flavors and uneven cooking, and it only takes a few minutes after each use. For more DIY maintenance tips around your home, check out our guide on how to drill into concrete for your next home improvement project.