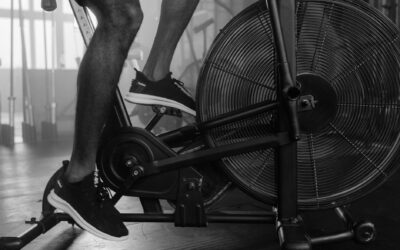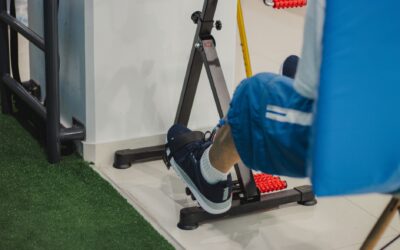
To adjust an exercise bike seat, start by loosening the adjustment knobs or levers under the seat and on the seat post. Then, set the seat height so that when your pedal is at its lowest point, your knee has a slight bend of about 25 to 30 degrees. Next, adjust the seat forward or backward so that when the pedals are horizontal, your forward knee is directly above the pedal axle. Finally, tighten all knobs securely before riding. This process ensures proper leg extension and alignment, reducing strain on your knees and improving your pedaling efficiency.
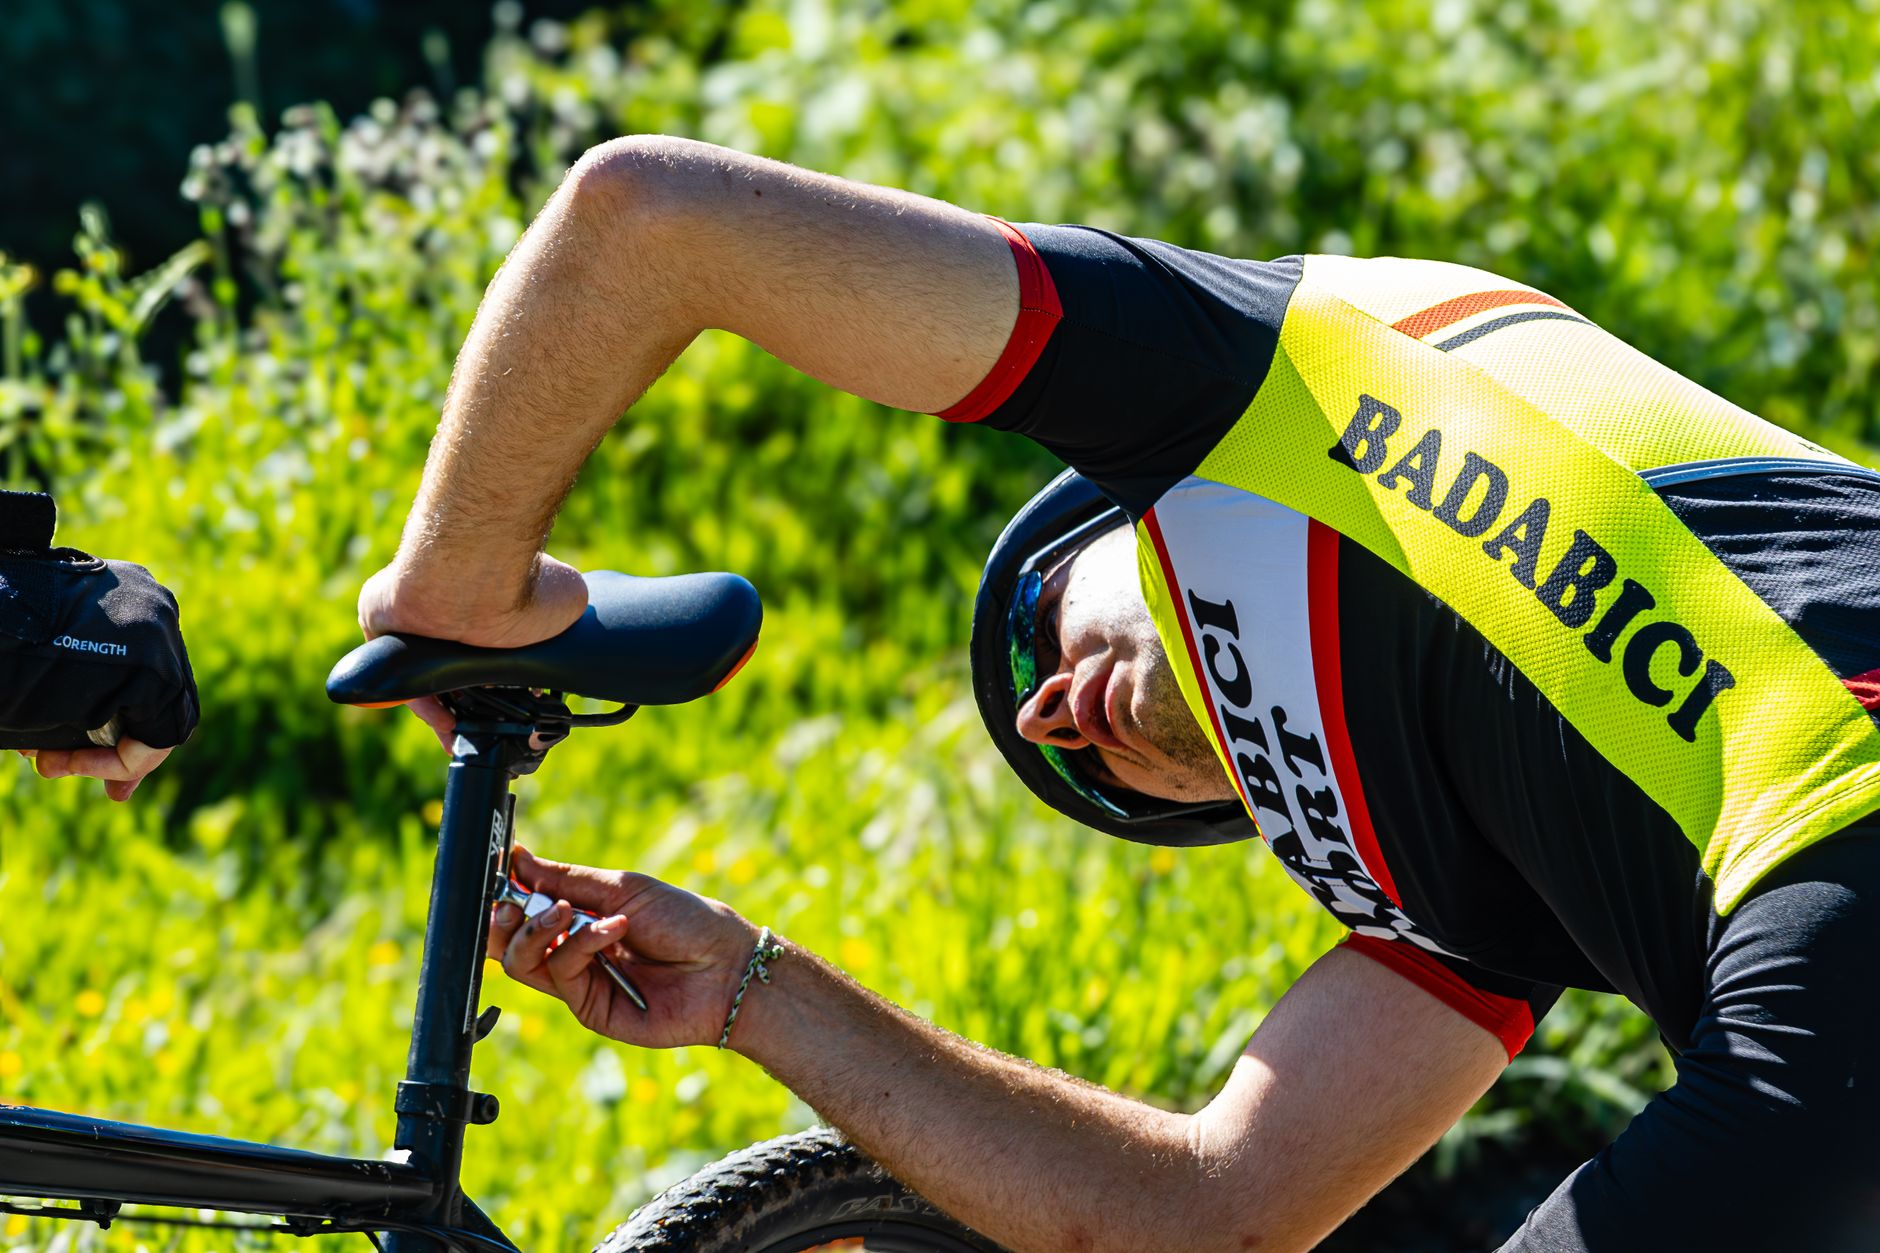
Why Seat Height Matters
The most common mistake people make when learning how to adjust an exercise bike seat is setting the height too low. A seat that is too low forces your knees to bend excessively, which can lead to patellar tendonitis or general knee pain over time. It also reduces your power output because your legs cannot fully extend.
On the other hand, a seat that is too high forces you to rock your hips side to side with each pedal stroke. This instability can cause lower back pain and reduce your efficiency. The goal is a height that allows a slight bend in your knee at the bottom of the pedal stroke, typically around 25 to 30 degrees of flexion.
Seat Fore-Aft Position: Forward and Backward Adjustment
The fore-aft position of the seat determines where your hips sit relative to the pedals. If the seat is too far forward, your knees may travel past your toes, increasing strain on the patellar tendon. If it is too far back, you may overreach with each pedal stroke, causing hamstring or lower back discomfort.
To set this correctly, sit on the bike and place the pedals horizontally, with one foot forward and one back. Your forward knee should be directly above the pedal axle. Use the sliding rail under the seat to adjust until this alignment is achieved. Tighten the knob firmly before riding.
Seat Angle: Tilt Adjustment
Most exercise bike seats can be tilted slightly forward or backward. A seat that tilts too far forward can cause you to slide forward, putting pressure on your hands and wrists. A seat that tilts too far backward can cause lower back strain and make it difficult to maintain a stable position.
Start with the seat level, parallel to the ground. Make small adjustments of a few degrees at a time, then ride for a minute to test. Many riders find a very slight forward tilt (one to two degrees) comfortable, but individual preference varies. The key is to avoid extreme angles that cause discomfort or instability.
Handlebar Position and Its Relationship to the Seat
While this article focuses on the seat, the handlebars work together with it. If you have adjusted the seat correctly but still feel discomfort in your shoulders or lower back, the handlebar height or reach may be off. Handlebars that are too low can round your shoulders, while handlebars that are too far forward can overextend your back.
As a general rule, for a comfortable upright riding position, set the handlebars at about the same height as the seat. For a more aggressive, aerodynamic position, you can lower them slightly. Adjust the handlebar reach so that your elbows have a slight bend when your hands are on the bars.
How to Fix Common Adjustment Mistakes
If you have been riding with an incorrectly adjusted seat, your body may have adapted to a poor position. Here is a quick checklist to correct the most common issues:
- Knee pain in the front of the knee: The seat is likely too low or too far forward. Raise the seat height and/or slide it backward.
- Knee pain behind the knee: The seat is likely too high or too far back. Lower the seat and/or slide it forward.
- Lower back pain: Check seat tilt (should be level or slightly forward) and seat height (should not cause hip rocking).
- Numbness or tingling in the hands: The seat may be tilted too far forward, causing you to lean heavily on the handlebars. Adjust seat tilt back to level.
- Hip rocking side to side: The seat is too high. Lower it until your hips stay stable during pedaling.
Frequently Asked Questions
How often should I check my exercise bike seat adjustment?
Check your seat adjustment every time you ride, especially if multiple people use the same bike. If you are the only rider, a quick visual check once a month is usually sufficient, but always trust your body: if you feel discomfort, recheck the settings.
Can I use the same seat height as my road bike?
Not necessarily. Exercise bikes have different crank arm lengths and frame geometries than road bikes. Use the knee bend method described above for your stationary bike rather than copying measurements from another bike. Your body will tell you what works.
What if my exercise bike seat won’t stay in place after adjustment?
This usually means a loose or worn adjustment knob or clamp. Tighten the knob fully; if it still slips, the clamp may need replacement. Some bikes have a quick-release lever that can be tightened with a wrench. Check your owner’s manual for specific instructions.
Does a gel seat cover help if I still feel discomfort after adjusting?
A gel seat cover can add cushioning for the sit bones, but it will not fix a misalignment issue. Always adjust the seat position first. If you still feel pressure points after correct adjustment, a cover or padded cycling shorts may help, but they are a comfort add-on, not a substitute for proper setup.
Related Guides
Final Thoughts
Getting your exercise bike seat right comes down to three adjustments: height for knee bend, fore-aft for knee-over-pedal alignment, and tilt for stability. Spend a few minutes dialing these in before every serious ride.